

How To Draw So Cute School Suplies
Want to learn to draw? This free, hands-on tutorial will walk you through the nuts of a professional drawing practise in about 15 minutes. Grab a pencil and paper and follow along!
Interactive drawing tutorial tool
But choice your settings and hit the "get drawing" push button to begin.
Be enlightened: This tool uses NUDE models, both male and female, unless you turn this setting off.
Cover and Clothing:
Include:
Notes from the above tutorial
Gesture drawing is a ordinarily used exercise to prepare your brain to see the "important" parts of a pose, and prevent you lot from getting bogged downwards in the details. Thus, it's a very popular warm up before a drawing practice, and commonly used in university drawing courses to teach students good do habits. We'll beginning there too.
Draw the line of action
We're going to start with the "line of action" exercise.

Whether from life or from imagination, the first marking made in most figure drawings is the line of action. Y'all can get-go by thinking of the line of action as an imaginary line that runs downwards the spine. It is meant as the simplest possible description of a figure's chief bend and force. The more than bend you put into that line, the more attitude, forcefulness and/or movement the image volition communicate.
Some artists make two lines of action -- one for the body, and one for the arms.
Eventually, you lot should be able to place and draw the line of action within five seconds of seeing a pose for the starting time time. However, if this is your first time doing this exercise, allow yourself upwards to xxx seconds to examine a pose and make a conclusion about what shape its line of activity might be. Try to make curves, not S-shapes or squiggles.
Once you lot tin can recognize the line of action in 30 seconds, attempt speeding up -- run into if you can identify it and put it down on your paper in 15 seconds, x seconds, or even v seconds! Call up, you only need to identify and record a single line to successfully complete this exercise.
Why do this exercise? This practice teaches your encephalon to see the effigy as a whole, rapidly identify the essential essence of what makes a pose interesting, and sets you lot upwards to be a strong visual communicator.
Hang the head, ribcage and hips
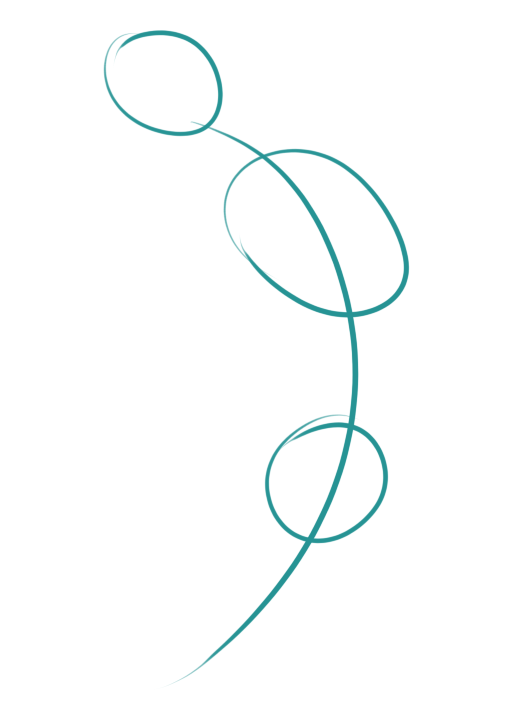
Once yous take established the line of action, information technology becomes easier to compose dynamic, expressive poses past "hanging" the head, ribcage and hips along this line. These are the "3 movable masses" that compose the master trunk of the homo body.
Even if you're only starting out, requite yourself no more 1 minute for this exercise -- find the line of activeness as quickly as possible, and and so identify your three movable masses forth it.
If yous have extra fourth dimension, you can always add more to your drawing, but that's not required right at present.

Once more, gradually speed up this exercise until you find yous tin identify the line of activeness and place the 3 movable masses in 60 seconds, 45 seconds, xxx seconds, maybe even fifteen seconds!
Many new artists are concerned when their short exercises don't look like much but lines and bubbles. This is a setup for thwarting and failure! Retrieve, these are exercises, not completed drawings. If y'all were learning to trip the light fantastic toe, you'd get-go every practice with concrete conditioning like push-ups, and non worry that a button-upwards does not look similar a dance. Information technology'due south the aforementioned thought here.
Capture the limbs
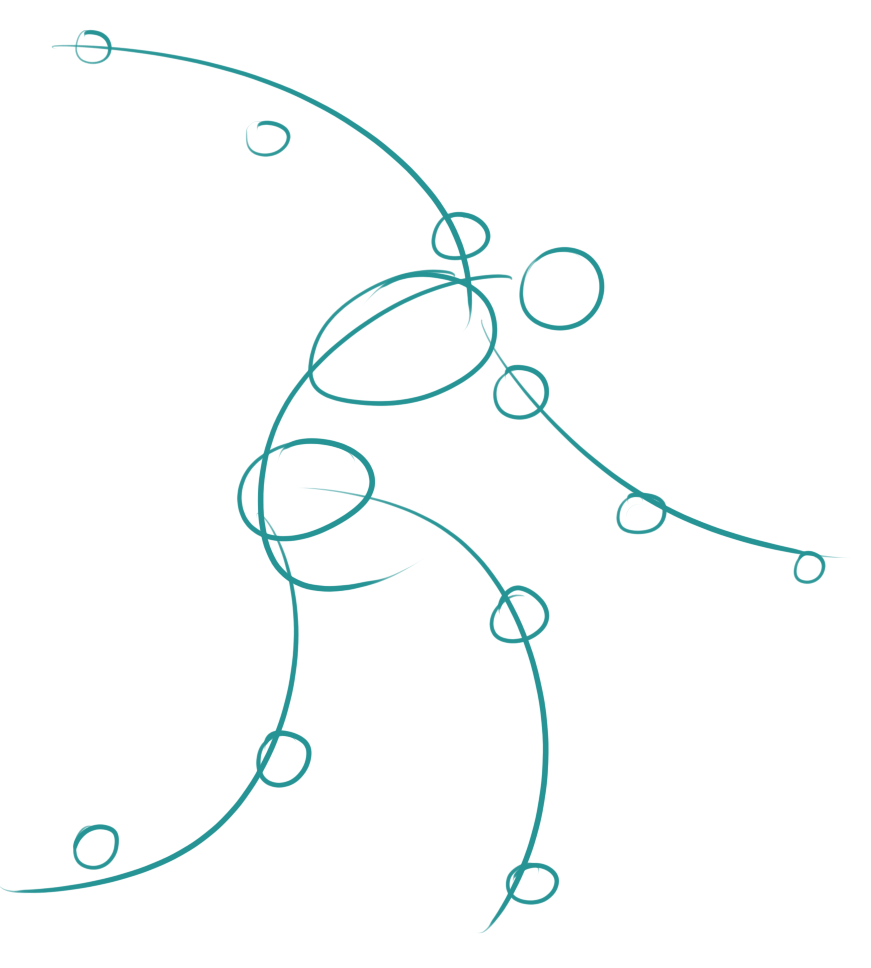
Now, when you've completed the line of action and the head, rib cage and pelvis, add either lines or long ovals to capture the limbs. Requite yourself no more than two minutes to capture the line of activeness, the three movable masses, the limbs and the joint locations.

Take special note of the major joints in the trunk like the shoulder, elbow, wrist, hip socket, knees and ankles -- you may wish to add a dot or a chimera to indicate where these joints are. These are the attachment and pivot points for your limbs.
Recall: If you have extra time, you can add together more to your drawing, but that'southward not required right at present.
From exercise to finished pose

"Under drawings" similar these can go the basis on which you lot describe longer, finished artworks, giving you clues almost the whole effigy even as yous start to focus in on details. Or, they tin remain stand-lone exercises.
A few tips: Avoid over-focusing on details. In the time it takes you to draw one eye, you might also be able to go down an entire border of the body that tells a better story about the consummate pose.
Requite yourself room to work! You lot may want to take upward a full folio with your longer drawings.
If you like, yous can endeavor to make beautiful artworks. But y'all will larn more right now if yous treat your do sessions every bit making visual notes about what shapes y'all call up the trunk is made of and contains.
We recommend y'all write today's date and the length of time you lot only spent on that drawing on your sketch, so y'all can see your improvement over time.
Our "class-mode" will take you through short poses to warm you up, then gradually introduce longer poses, following the format of university figure written report classes.
Across gesture cartoon
Gesture cartoon is a groovy foundation skill, but of grade there is and so much more to becoming a capable artist. That's why we have an e'er-growing wealth of practice suggestions in the Lessons & Tips session. You lot can also visit the forums to see what other self-taught artists are doing to hone their arts and crafts.

Source: https://line-of-action.com/learn-to-draw
Posted by: pullinsciarger.blogspot.com
0 Response to "How To Draw So Cute School Suplies"
Post a Comment